Refuel the Engine 1/2
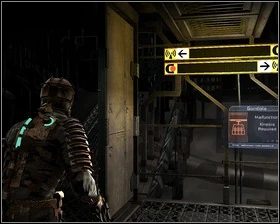
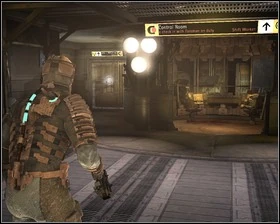
There's a locker at the end of the lounge. You'll receive three objectives. Our base of operations for this part will be the control room. Head there and search the room thoroughly – there's a Store, Save Station, and a Audio log there, along with a few open lockers. In order to take care of the first objective, head for the machine shop.
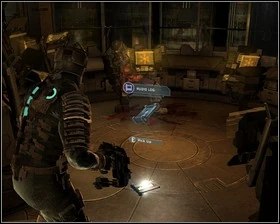
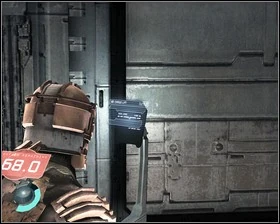
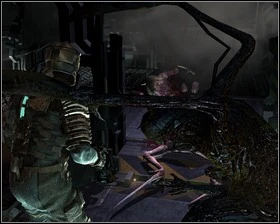
Look around the men's locker room – there are two open lockers there, and you'll find an Audio log, and Flame fuel Schematics inside. Watch out for not-really-dead Necromorph on the floor. Proceed forward to find a Text log and a Upgrade bench. Enter the refueling chamber.

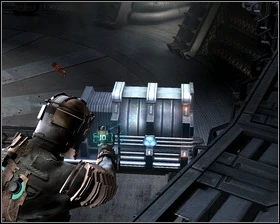
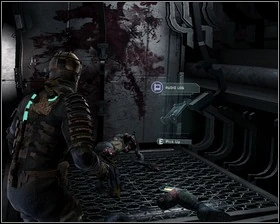
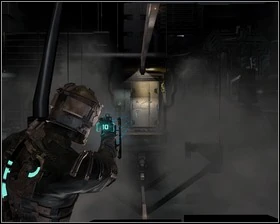
On the right side of the room there's a locker, crate and some Credits. Go up the ramp (just as the left arrow on the first screen tells you to). Use Kinesis on the mechanism to move the switch to the down position.
Activate the centrifuge

Go along the platform behind you and back to the control room. A flying Necromorph will take over one of the bodies, so be ready to fight the moment you enter the room. Use the Save station and head for the Centrifuge door.
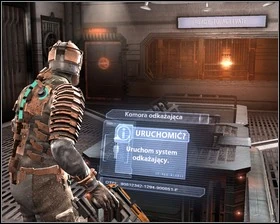

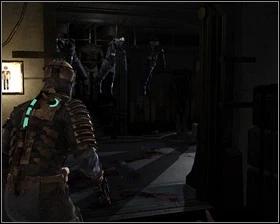
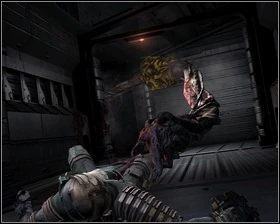
Before entering decontamination room look around and check nearby lockers. Among other items you'll find a small med pack, some ammo and an Audio log. After collecting the items enter the chamber and use the console to start decontamination, an alarm will sound and some Necromorphs will attack, so stay cautious. After the decontamination process is complete feel free to get through the door marked Proceed. Collect items on your way and continue onwards until you reach a save point.
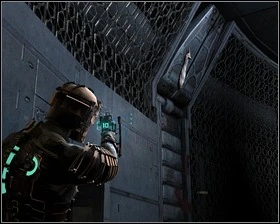
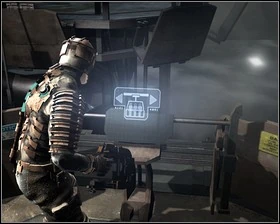
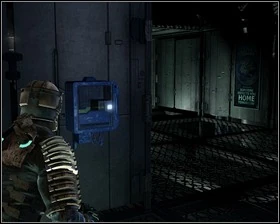
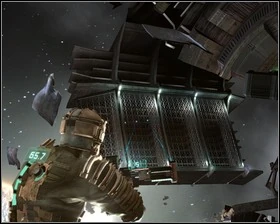
In short you'll need to get to the control panel that can be seen in the distance in the first screen. zero-G is an additional difficulty here – just a reminder – you need to aim at the spot you want to reach and press Ctrl. There's a locker on a nearby wall, as well as Stasis recharger. You can catch floating containers with Kinesis. Before reaching the control panel, however, you will need to move two generator modules that power the machinery here.
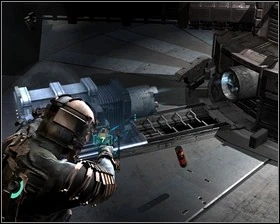
Stasis the module, than move it when Kinesis. When done, move to the other side of the room and repeat.
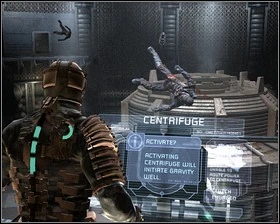
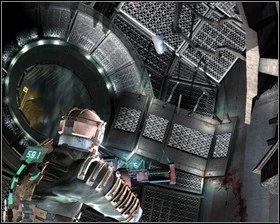
Approach the console and press E. The gravity will come back to normal, but the area lacks air. Turn around and use the platform to get down – watching out for the centrifuge module that spins clockwise around the room. The idea is to get from one alcove to another during each spin. This way you will move piece by piece through the room – there will be some Necromorphs awaiting you in the alcoves, as well as a Oxygen recharger, which may prove quite useful. Get to the platform and go up. As soon as you'll leave the chamber you won't have to worry about the timer on your back.
Refuel the Engine 2/2

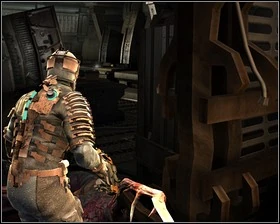
Go back towards the control room. As you walk along the corridor a tentacle will grab you and pull you towards a hole in the wall – you'll need to shoot at the yellow portion of the tentacle in order for it to release you. Once it has released you you can continue your way towards the decontamination chamber, but before you do so go down the round corridor to find a locker with a Power Node inside.

When you reach the control room turn to the refuelling station and go to the place where you activated the first console. Use Kinesis on the car to pull it towards you.
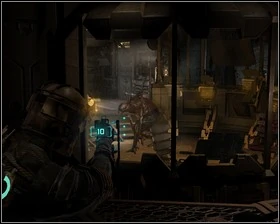
Get onto the car and activate it by pressing E. There's quite a welcoming committee awaiting us at the other side – collect all the drops and smash the nearby container.
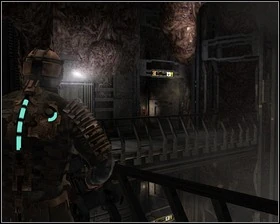
Going up along the walkway you will find a Audio log, and one of the alcoves has a locker with a Power conduit inside. Continue upwards.
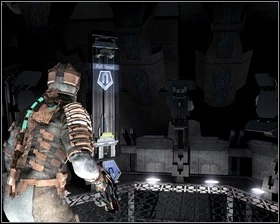
There's a switch to the right of the save station which you'll need to activate using Kinesis. The objective is complete, however it seems that you'll need to manually activate the engines. Your orientation point will again be the control room, which we should be able to reach without much difficulty. Before pursuing the next objective be sure to visit the Store and the Save station.
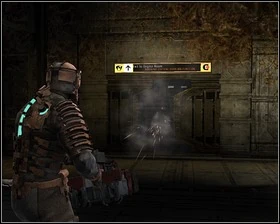
You'll get to the machine room by leaving the control room through the round door. You'll end up in vacuum again – you should try to jump to the places seen on the screens. Your space walk will be disturbed by two Necromorphs but they shouldn't be that much of a problem. Carry on to the more stable ground.
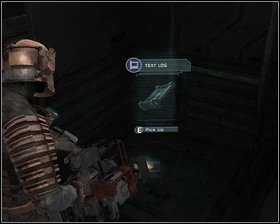
You'll find the medium med pack schematics and a locker. You'll finally enter the room covered with some organic matter, but before you'll get into the elevator search the two smaller areas to your right and left. You'll find an Audio log, a Text log, and some lockers, including one with a Power Node.
Use the platforms to get to the lower levels until you reach the broken door. You'll need to use stasis on them in order to continue.
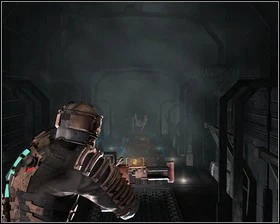
More crawling Necromorphs here, those can be dispatched however by blowing up the red barrel when they come near. One more Necromorph will appear in our way after we deal with the first group. Before getting through the door, be sure to use the save station.
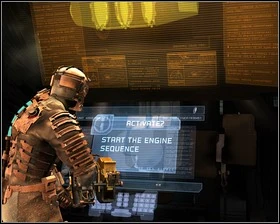
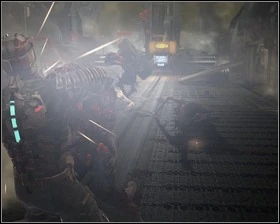
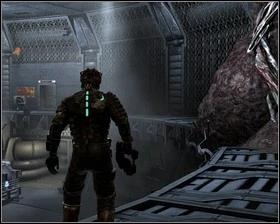
Quite a welcoming committee awaits here, but you should be able to deal with them without much problem. After defeating the first wave search the room to find a locker, and some containers in the upper portion of the room. When you'll collect all the items start the engine sequence. You'll face another, more serious wave of Necromorphs including some spitting ones. After you deal with them, confirm the start sequence thus completing the objective.
Go to the bridge
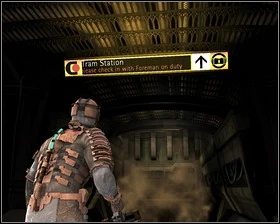
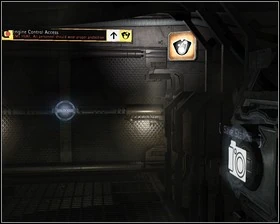
Going through the door straight ahead you will reach the control room and from there you'll need to head to the tram which will take you to the next chapter.
|
| |||
| |||
|
|